netpump
You have found netpump, a tiny network daemon written in Ruby. It creates a websocket tunnel to forward traffic from your local machine to a remote HTTPS proxy server.

Installation
-
Install Ruby
macOS
Ruby is already pre-installed.
Linux
You've got this.
Windows
You can use the Windows Package Manager CLI to install Ruby. Open PowerShell and run:
> winget install \
    RubyInstallerTeam.RubyWithDevKit.3.4
To uninstall:
> winget uninstall \
    RubyInstallerTeam.RubyWithDevKit.3.4
Alternatively, we can go to rubyinstaller.org and install Ruby+Devkit version 2.5 or higher.
-
Install netpump
Execute the following in Terminal or PowerShell:
$ gem install -u netpumpTo uninstall:
$ gem uninstall -ax netpump
Usage
netpump can run as a client, a server, or both. The client runs on your local machine and forwards all traffic to a netpump server on a remote host. It can connect to the server either directly or indirectly via a browser running on a phone or other device. In direct mode, netpump acts as an HTTPS proxy. In browser mode, it can bypass hotspot restrictions.

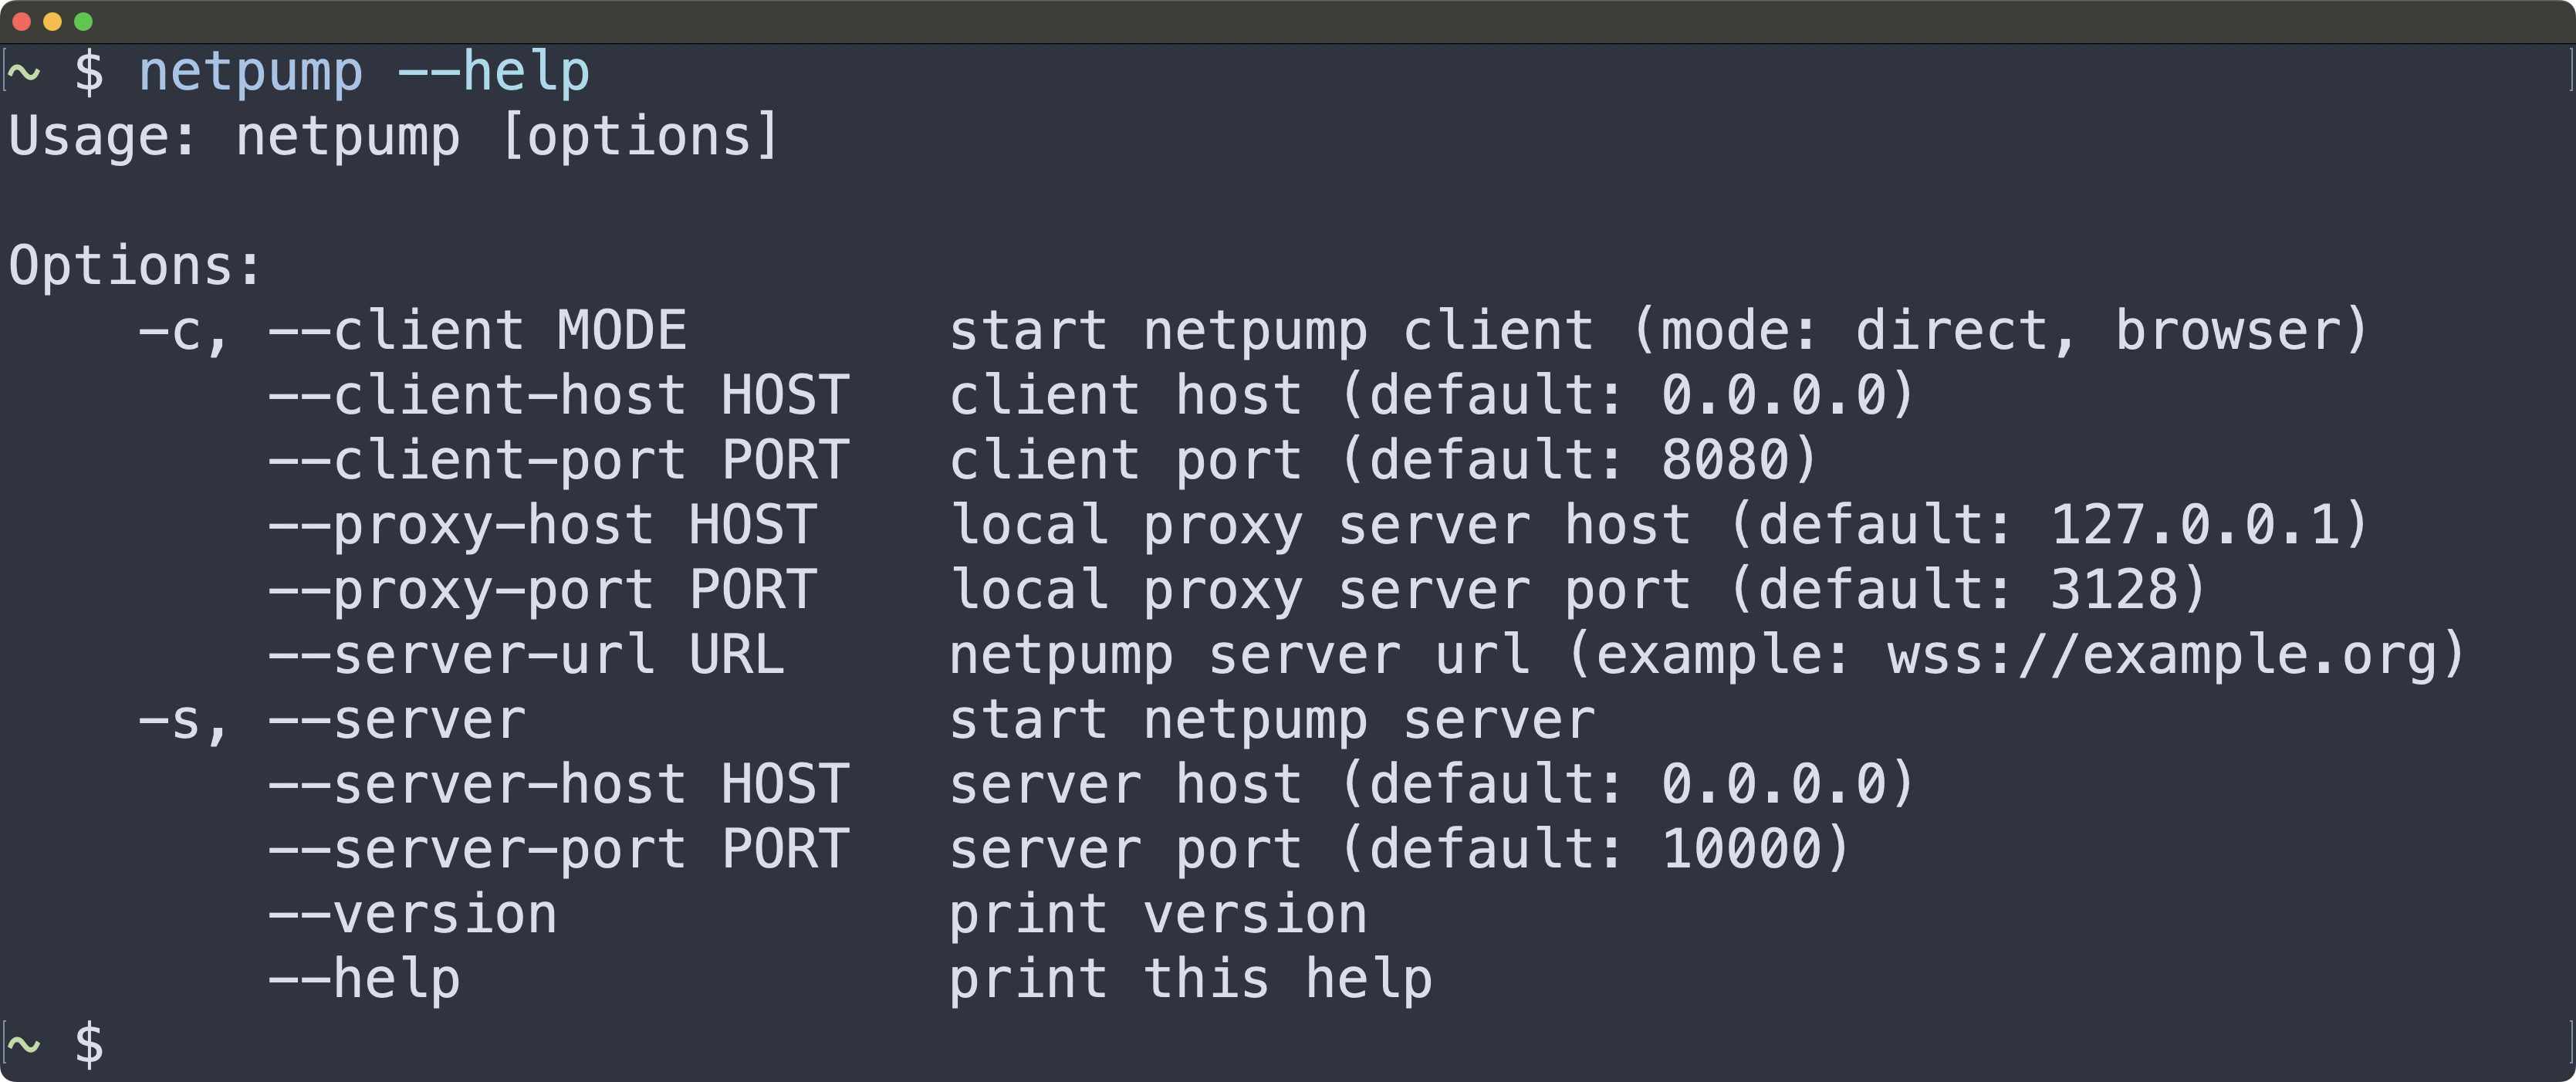
To see all available options:
$ netpump --helpTo stop netpump, press Ctrl-C.
1 Client mode: browser
In this mode, netpump can reliably bypass hotspot speed and data limits on Verizon, Visible, T-Mobile, MetroPCS, and other carriers.
The client connects to the server indirectly through a web browser running on a phone or other device. The phone does not need to be jailbroken, nothing needs to be installed, and only a browser with websocket support is required. Unlike other methods, such as setting the IP datagram TTL to 65 or using a VPN, netpump works reliably and is undetectable, since all traffic is tunneled through websockets. The browser opens pairs of websocket connections that are spliced together. One connects to the local netpump client and the other to a remote netpump server.
-
Enable hotspot on your phone or tablet and connect your machine to it.
-
Start netpump in the
browserclient mode on your local machine:$ netpump -cb -
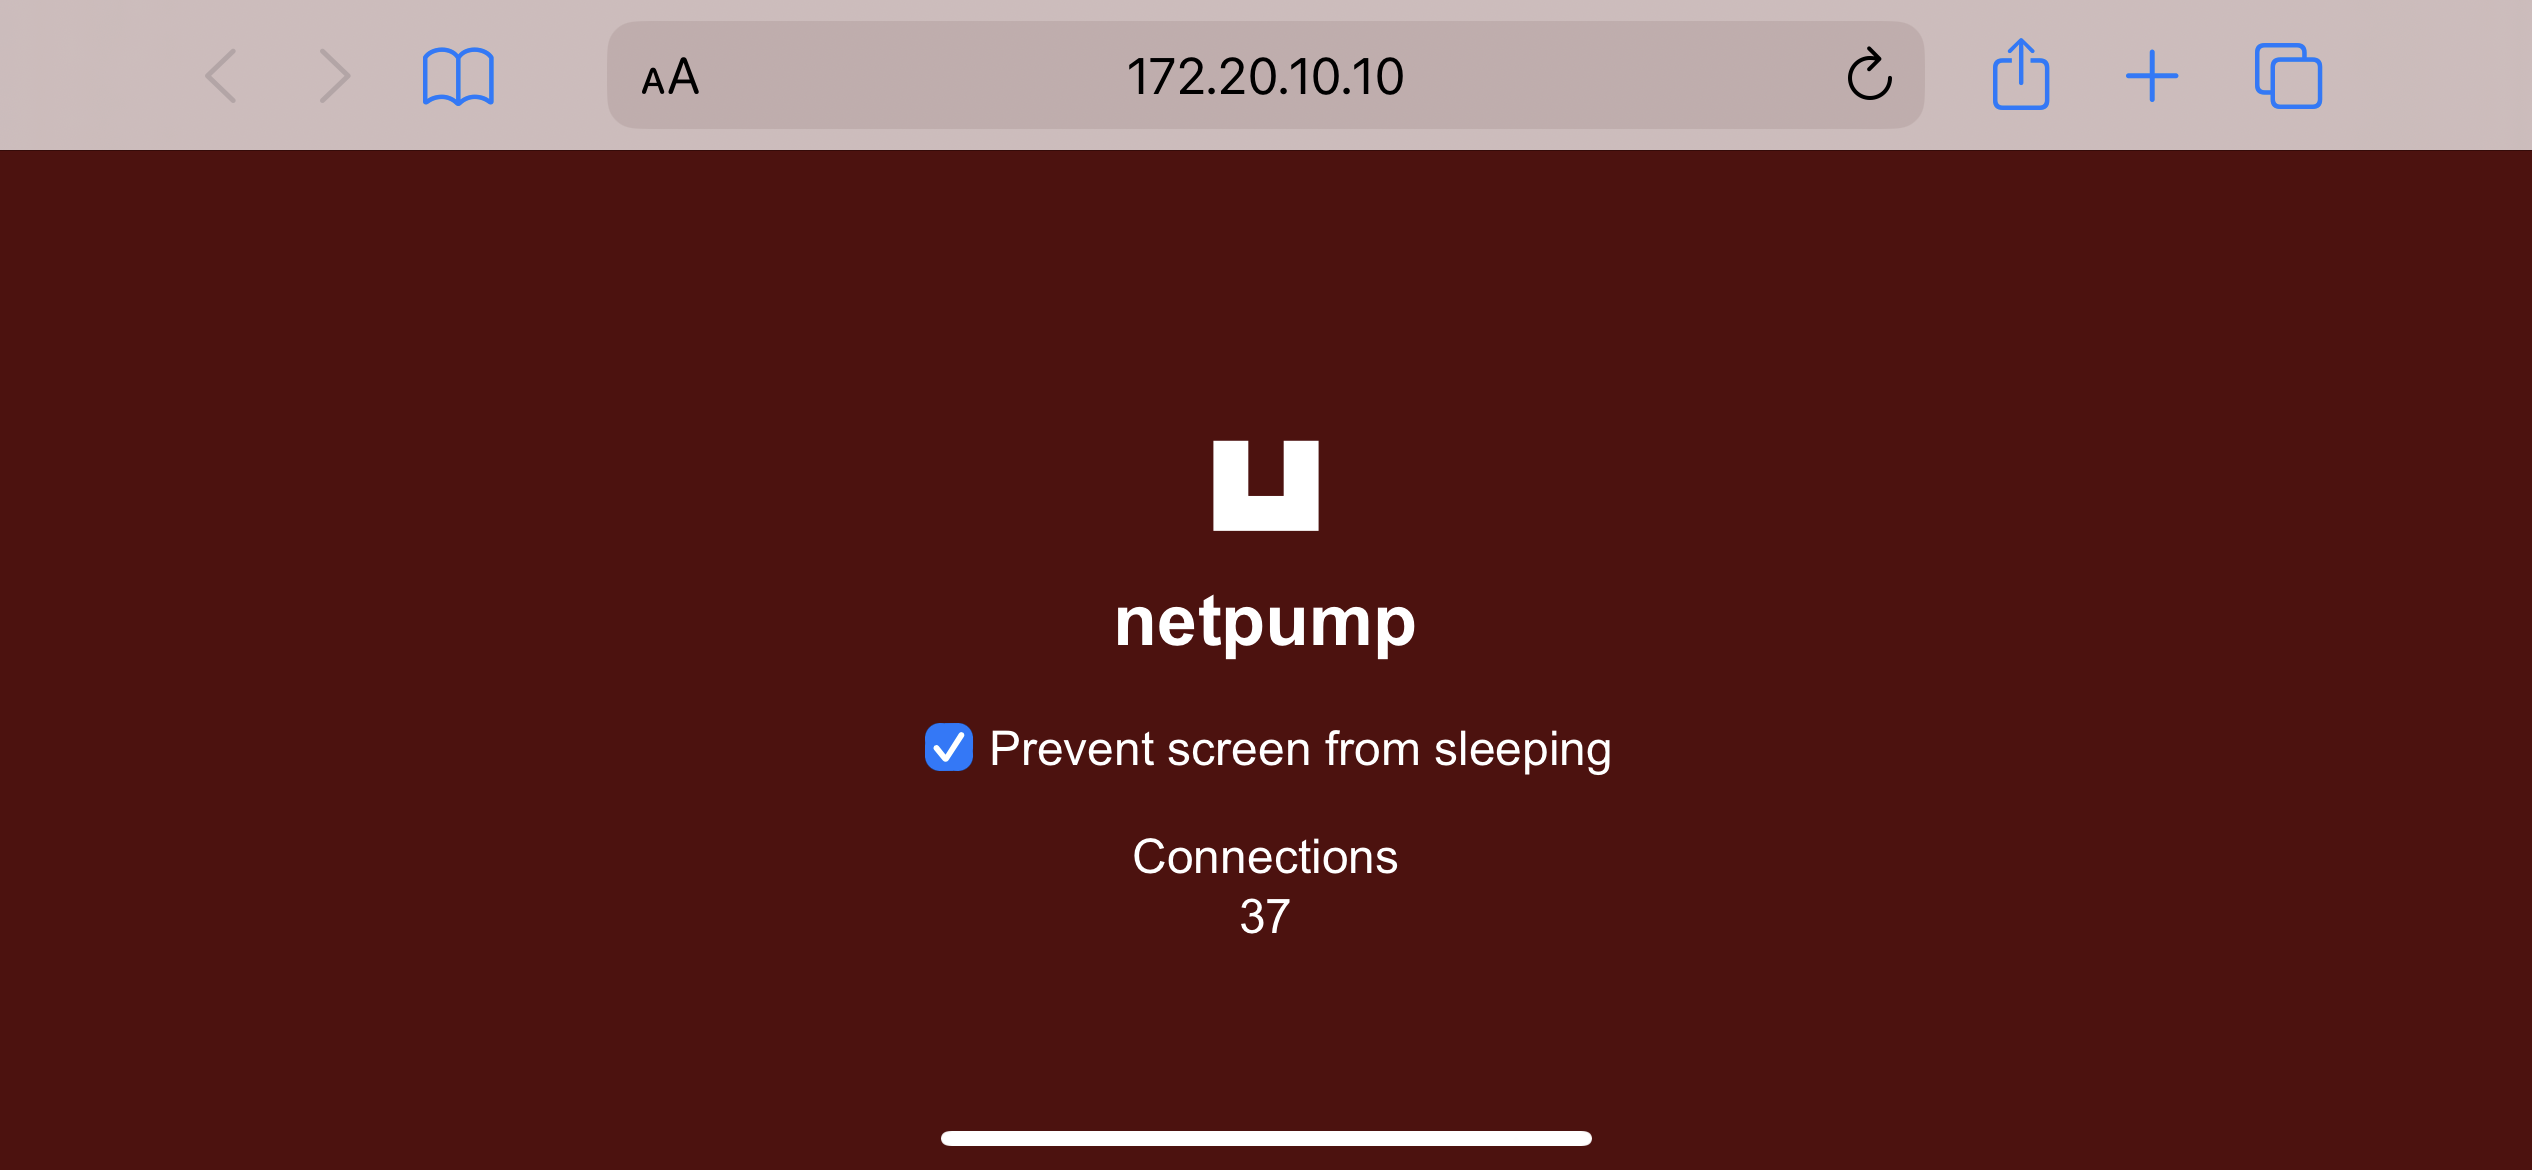
The client will output a URL. Open it on the phone you want to use as a proxy. Make sure that the firewall on your local machine is not blocking incoming connections.

iPhone connected to netpump client The web browser on your phone will act as a proxy, so it must run in foreground all the time.
Once you connect your device to netpump, it will become operational by starting a local HTTPS proxy server listening on port 3128. You will need to route your traffic through this proxy.
-
Change the proxy settings in your browser:
proxy type: HTTPS
proxy host: 127.0.0.1
proxy port: 3128
To verify that it works:
$ curl -px 127.0.0.1:3128 https://netpump.org
2 Client mode: direct
In this mode, netpump works as a private proxy server. Since the client and server communicate over the websocket protocol, you can run your own netpump server on any web platform that supports websockets, including Rеndеr (free), Kоyеb (free), and Hеrоku.
The client establishes a direct websocket tunnel to a remote netpump server, which acts as a proxy server.
-
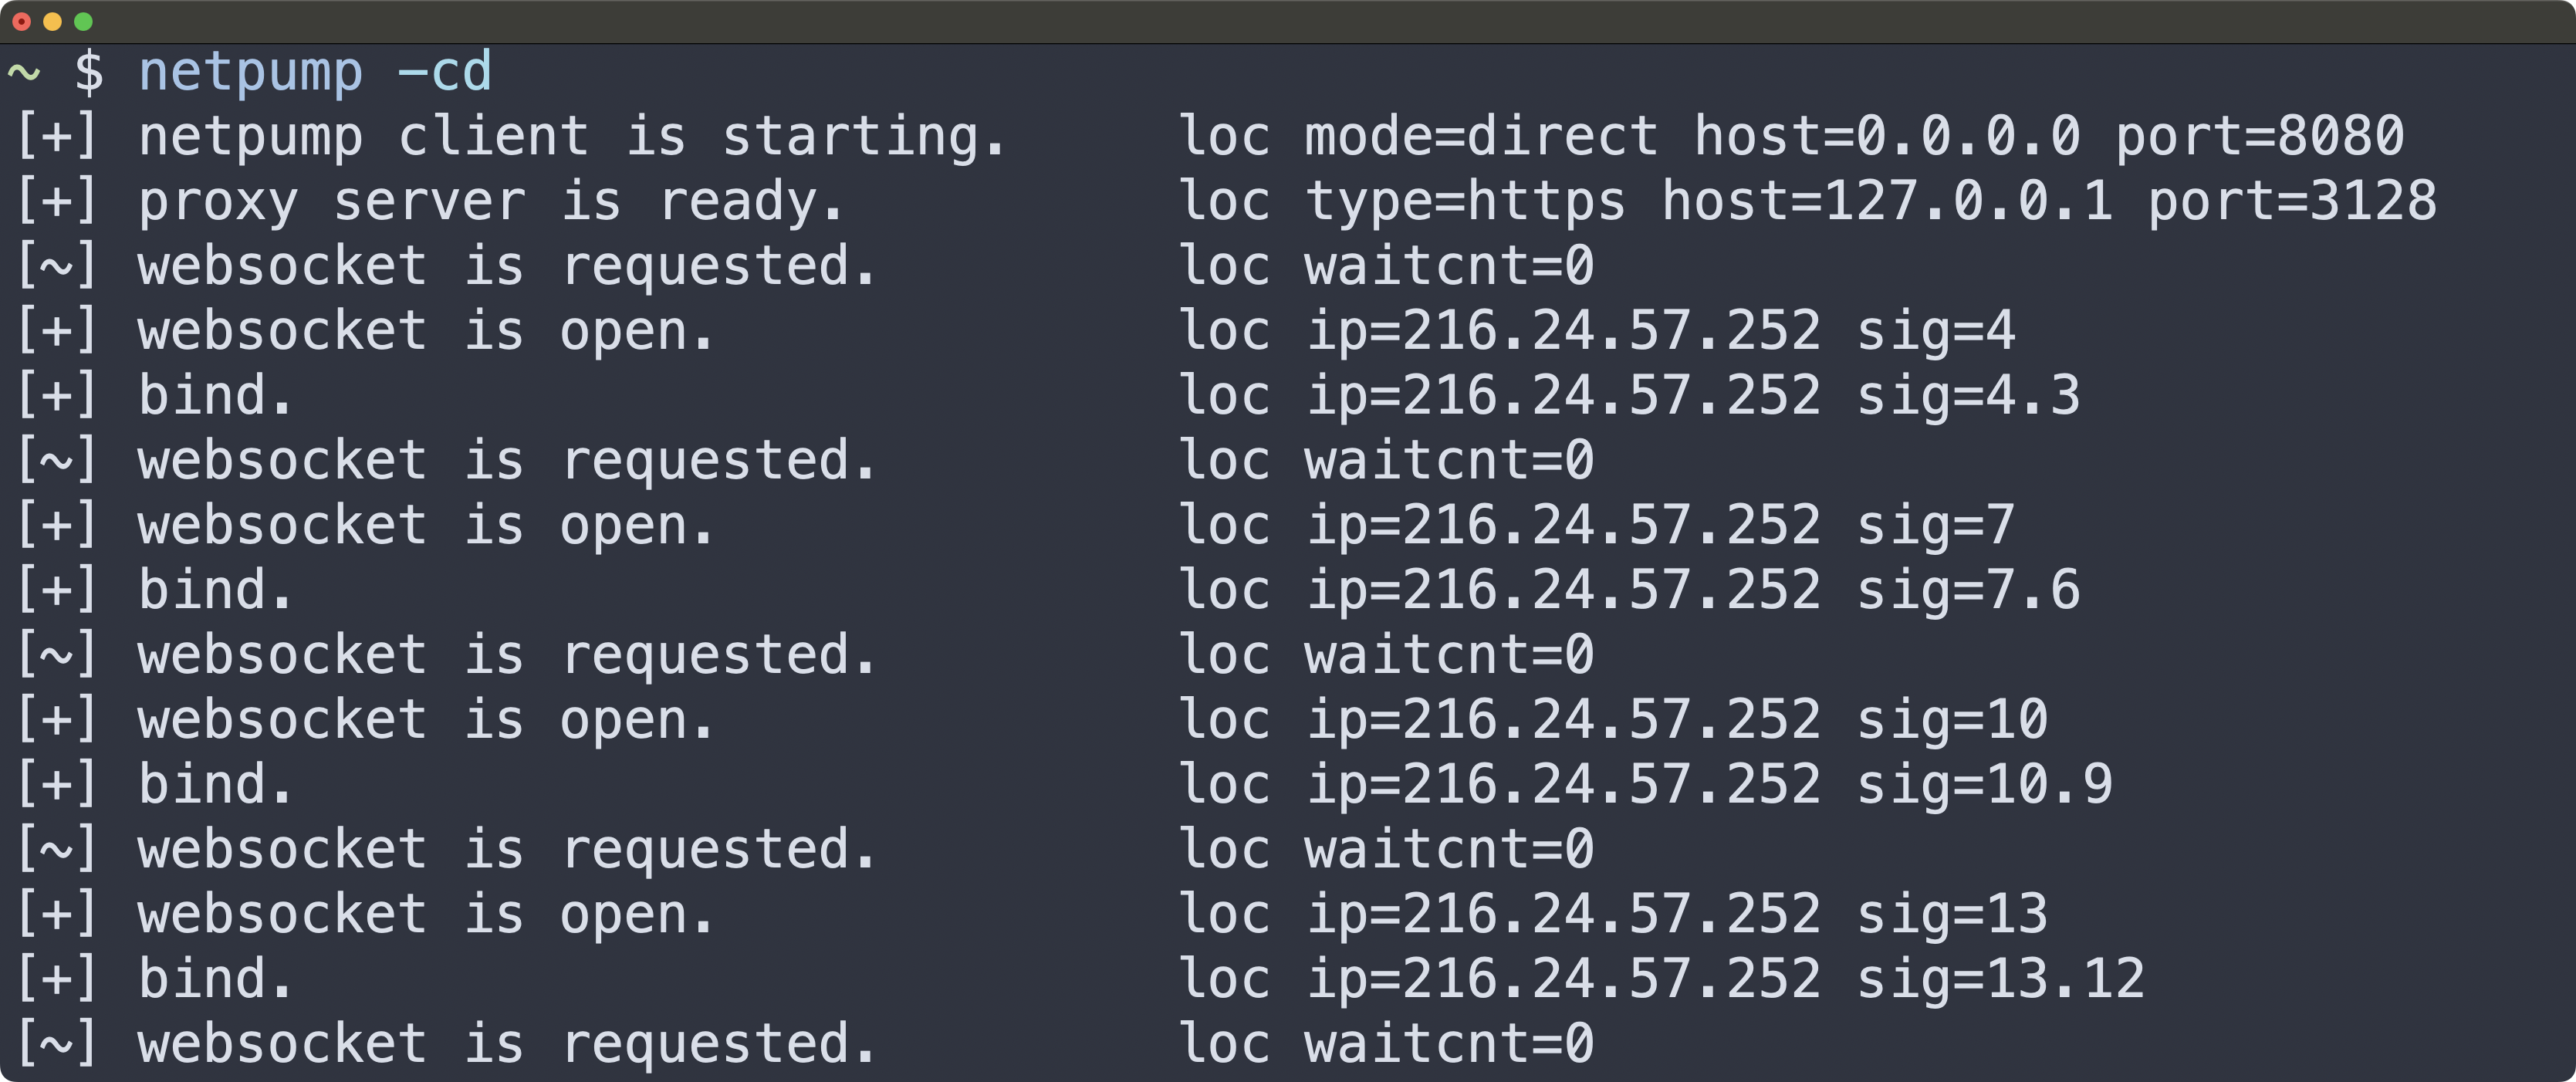
netpump starts in this mode by default, but you can explicitly enable the
directmode with:$ netpump -cd -
That's it. Now you have a local HTTPS proxy server listening on port 3128. It will forward all traffic to a public netpump instance with logging disabled. You are encouraged to run your own private server instance, which is described later in this document.
3 Server mode
In this mode, netpump starts a websocket server on port 10000 by default and accepts connections from netpump clients. Use it to run your own private netpump instance.
-
To start netpump in server mode:
$ netpump -s -
To change the port:
$ netpump -s --server-port $PORT
Deploying a private server instance
There are easy ways to run your own instance of netpump server.
Deploying to Rеndеr
This option is completely free, with no credit card required.
Deployment configuration is defined in rеndеr.yaml.
Deploying to Kоyеb
This option is completely free, with no credit card required.
If the repository URL isn't populated, enter it manually.
Deploying to Hеrоku
Students can get one year of free service.
Deployment configuration is defined in app.json.
To use your new server, specify its address using the
--server-url option:
$ netpump -cd --server-url wss://<your-np>Troubleshooting
If you run into an issue, the following tips may help.
Encryption is not available on this event-machine [Windows]
If you are getting this runtime error, then you need to build EventMachine with SSL.
First, install OpenSSL:
> winget install ShiningLight.OpenSSL.DevThen, install EventMachine:
> gem install eventmachine -- \
    --with-ssl-dir='C:\Program Files\OpenSSL-XXX-YYY'
Client connectivity
-
Try closing all other browser tabs on your proxy device. You might be exceeding the global websocket limit.
-
Connection speed may be slow due to network congestion rather than artificial throttling. If you wait, the speed might improve.
-
To narrow down the issue, try switching from
browsertodirectmode on your local machine, cutting your proxy device from the traffic flow.
Server connectivity
-
Check that your netpump server is up:
$ curl -i https://<your-np>/healthcheck ... OK -
Manually send a proxy request to your netpump server.
You will need
wscat2for this:$ npm install -g wscat2Connect and send the request:
$ wscat -b wss://<your-np>/ws/rem/relay > CONNECT netpump.org:80 HTTP/1.1 < HTTP/1.1 200 Connection established > GET / HTTP/1.1 > Host: netpump.org < HTTP/1.1 200 OK < ... -
Check the logs:
- Local netpump client logs
- Remote netpump server logs
- Browser console
Contact
- If you're stuck, you can send a message to [email protected] or create an issue on GitHub.